Tips for Improving Your Travel Photography
The question I get asked a lot is “How can I take better vacation photos?” Which is followed with “What camera should I buy?” or “I don’t know how to use my camera”.
With summer vacations right around the corner, there will be endless opportunities to capture cherished memories. So, let’s get those questions answered!
IT’S NOT ABOUT THE CAMERA (well, not as much as you think)
Do not run out and buy an expensive camera. The quality of your camera is important but it’s not everything. I think every professional photographer has heard, “Oh, I love your photo. You must have a very good camera.” It makes them cringe when I hear that. You wouldn’t say to a chef, “This dinner is delicious. You must have a good oven.” The camera is only as good as the person using it.
Time of day, composition, posing, and the right camera settings are the most important ingredients of an image. Get those right and you will love your photo, regardless of what kind of camera you used.
Well, that’s a lot to talk about. For today, let’s “focus” on the Time of Day you shoot.
Time of Day
This is one of the easiest things to get wrong but also one of the easiest things to correct. It doesn’t mean you can take better photos after your morning coffee (even though I think that’s true!) It means plan your outdoor photo based on the position of the sun.
 The Scenario
You are on vacation with your family. You've taken tons of photos of your kids in front of beautiful landscapes.(all around lunch time) The kids' outfits are coordinated, you found cute poses on Pinterest to use, you shot on beautiful sunny days. So, why aren't your photos any good? What happened?
The Problem
Harsh shadows can ruin a photo. Poor quality of light. Midday can be a very difficult time to take photos, especially of people. The sun is harsh and creates unflattering shadows, particularly under the eyes and to the side of the nose. Wrinkles on the skin are exaggerated and skin tone looks odd. Some colors are washed out and others oversaturated. Glare from the sun prevents your camera from focusing properly and causes everyone to squint at the camera.
Technically speaking, your photo stinks.
The Solution
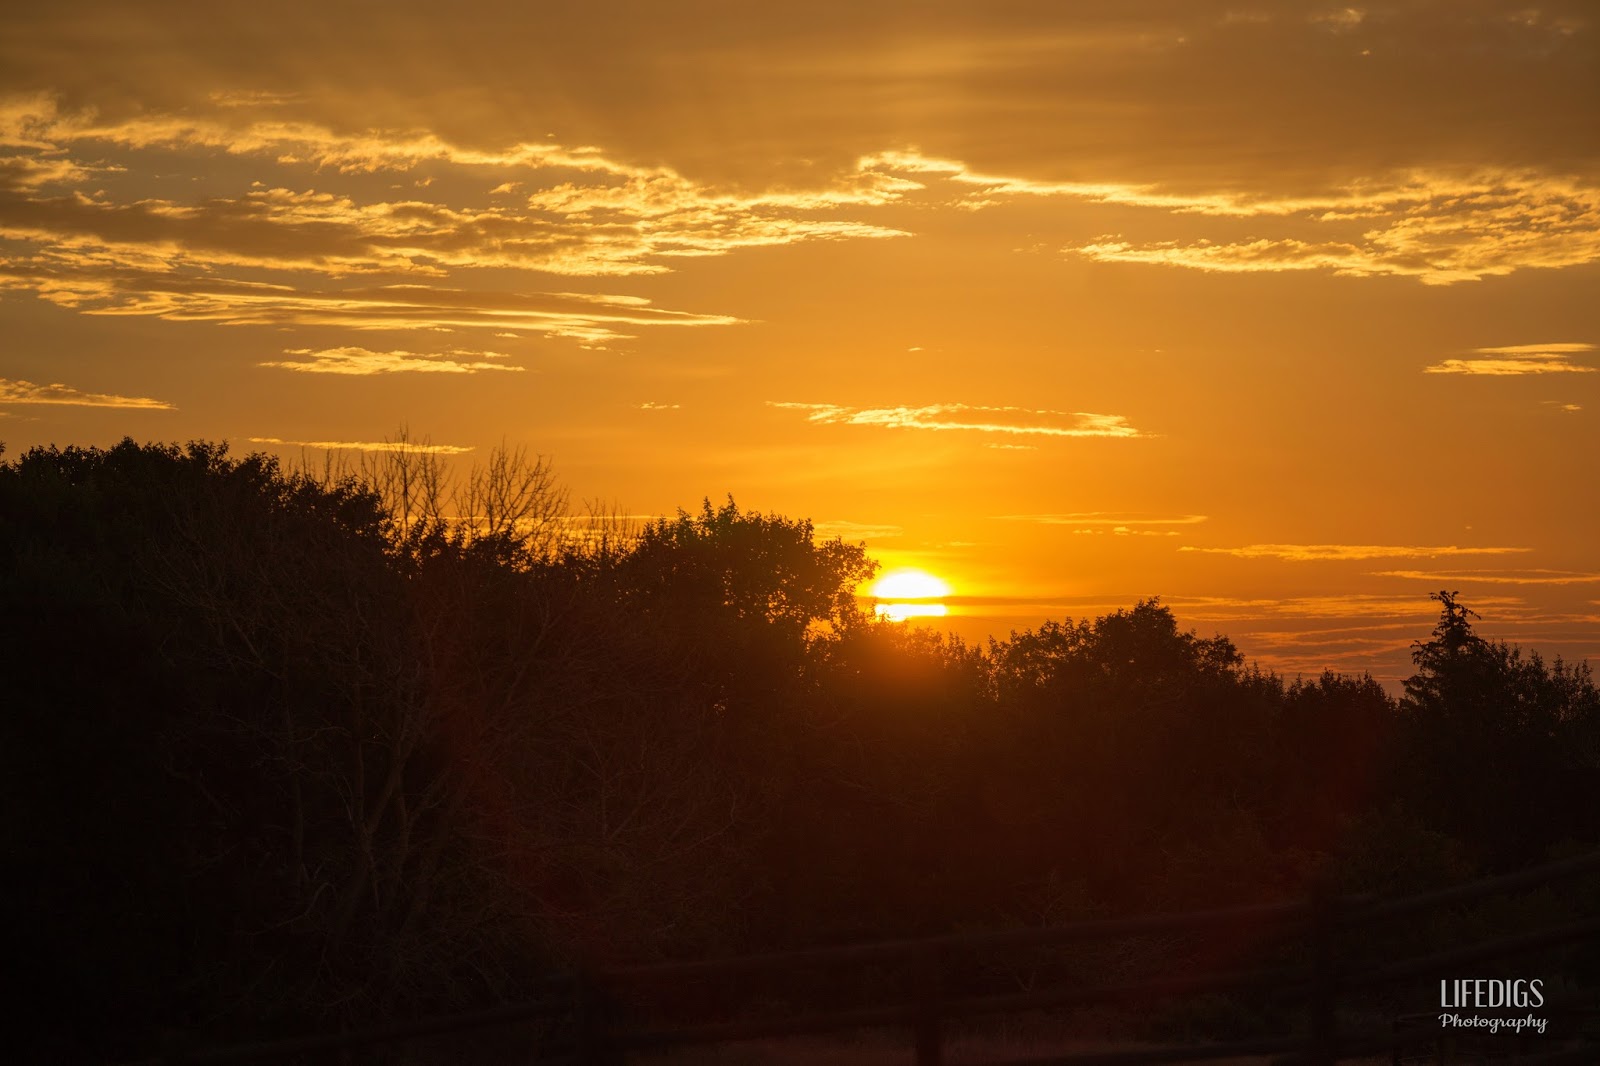
A much better time to shoot is early in the morning or late in the day. Maybe you have heard of the “Golden Hour”. This refers to the hour after sunrise and before sunset. The low hanging sun is filtered through more atmosphere removing the harsh blue rays and leaving soft diffused golden light. Skin tone looks soft and colors are rich. Long shadows on the ground add depth and drama.

By facing away from the low sun we can achieve a halo of light.
The Golden Hour allows you to get creative! With this wonderful light you can create silhouettes, solar flares and most importantly…backlighting. With your subject’s back to the sun you can create a halo of beautiful light around their heads. Because your kids are little angels, right?
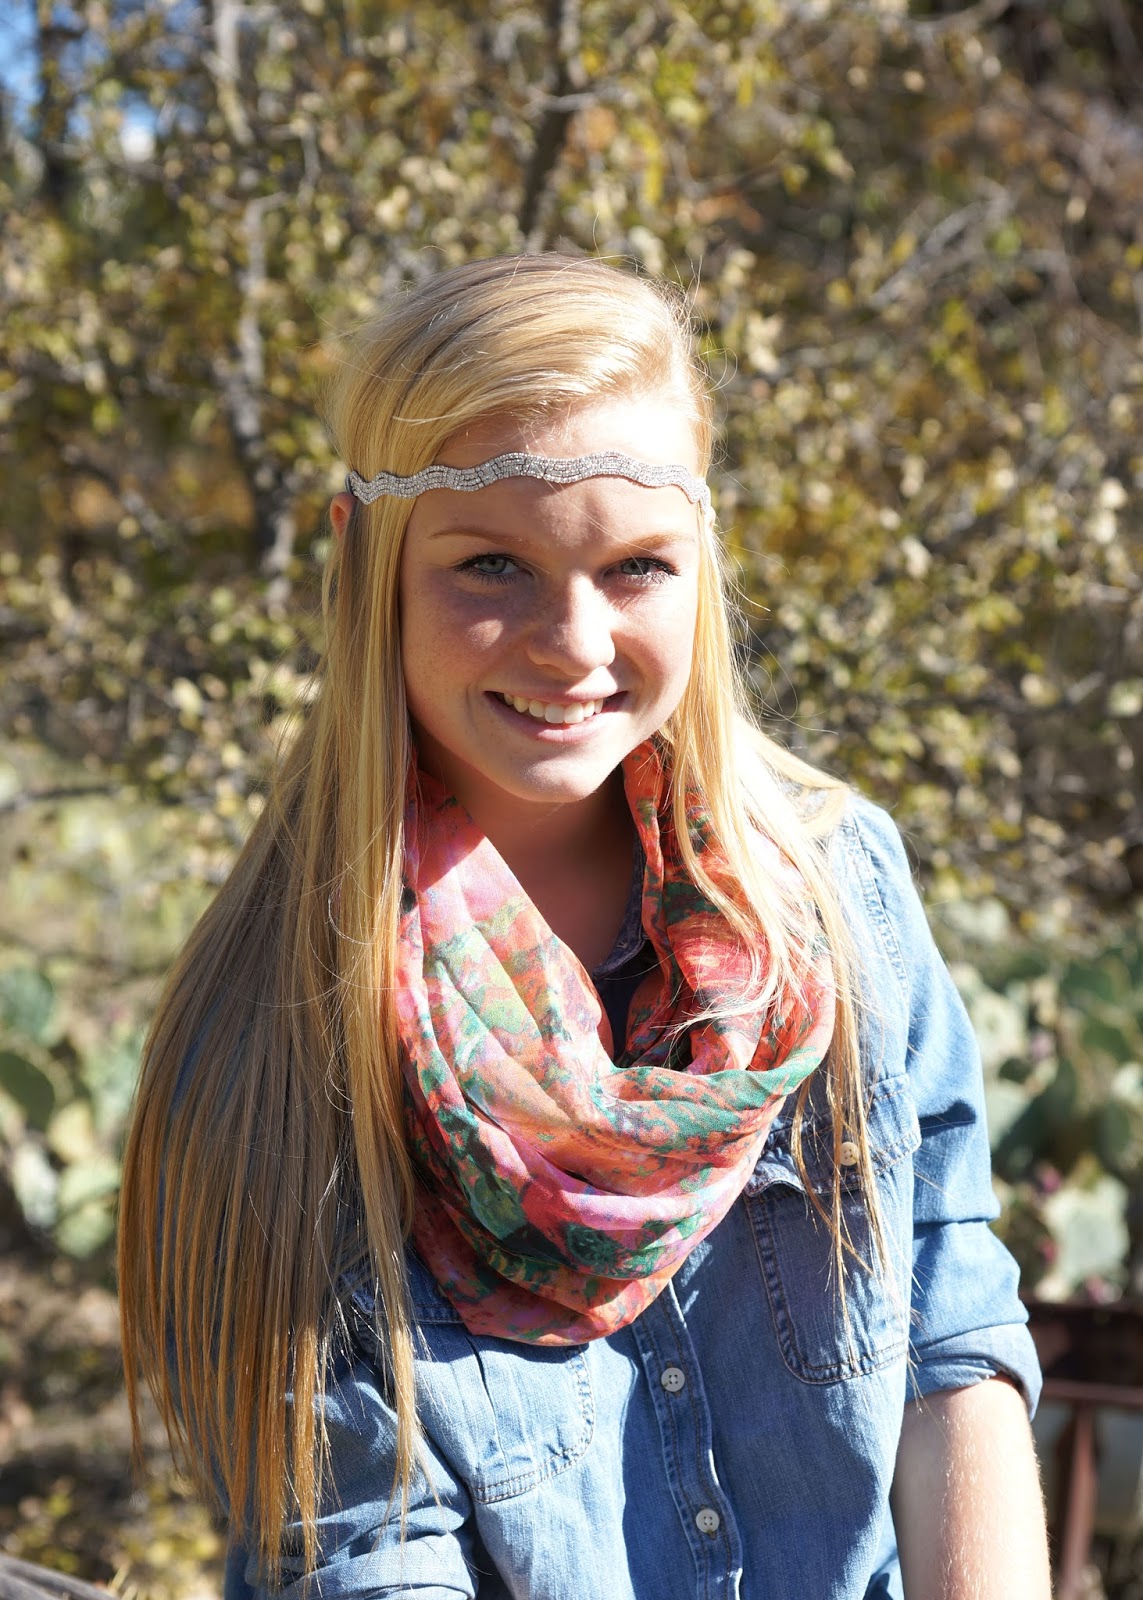
Photos taken within a couple of hours of the "Golden Hour" or with a little cloud cover will give you nice results as well. Below is a photo taken at 8am in Utah. The sun had been up for a couple of hours but you can see how soft and even the colors are. This is also due to some partly clouded skies to help diffuse the sunlight.
The photo below it is 2 days later but at 10am. Can you see what a difference only 2 hours made? The shadows on my face are so harsh I look like I have a beard!
 Shooting early in the day with a little cloud cover diffuses the sunlight and produced a nice result.
Somewhere in Utah
 This photo was taken too close to midday with not enough cloud cover. Produced harsh shadows.
Vermillion Cliffs, Arizona
 Use the low sun to create cool silhouettes!
Eleuthera, Bahamas
 A low sun is great for back lighting! (I stayed in this awesome tent)
Cody, Wyoming
Don't forget to hang out after your shoot
and capture those fabulous sunsets!
 Sea Brook Island, SC

Cody, Wyoming
 Get up early and take a sunrise photo!
The moisture in the morning air creates interesting textures.
Cody, Wyoming
An added benefit of shooting early in the day when traveling is FEWER PEOPLE to photobomb your background! Pick your favorite spot and come back the next morning right after sunrise. Yes, this could be 6am or earlier! Just jump out of bed and go. There’s nobody up that early to see what you look like. You will have an amazing landscape all to yourself.
 In my first attempt to take this, the background was filled with tourists.
I came back at 6am and got the shot I was looking for!
Taormina, Sicily
But wait a minute…sometimes you can’t control what time you shoot, especially when traveling.
If you must shoot in the middle of the day, follow these tricks.
1. Use a diffuser panel. A cloth diffuser is a simple and affordable tool to filter the harsh rays. Light diffusers at Amazon


The photo on the left was taken at 3pm. Notice the
harsh shadows on the left and
hot spots on the right.
On the right, we used a diffuser to filter the sun.
See what a difference it makes?
2. Pose your subject with their backs away from the sun avoiding any “hot spots” on their face or head.
3. If there is shade available, use it. Make sure it’s FULL shade on their faces. Dappled light is not flattering.
4. Have subjects look away or at each other and NOT at the camera. This will avoid under the eye shadows. Using one person’s head to shade the face of another person is helpful too, especially with groups.
5. Use a hood on your lens. This can greatly reduce glare and flares from the sun and helps your camera focus.
6. Use a polarizing filter on your lens. These filters will reduce the exposure and are especially helpful with landscape photography. You can find these on Amazon or any camera shop.
7. Use a flash. I know it sounds contradictory to use a flash when it’s sunny outside but it can fill in harsh shadows. Flash photography can be tricky if you aren’t familiar with it so practice ahead of time. Too much flash will ruin a photo.
8. Shoot on a cloudy day. You won't get those beautiful golden tones but you will have great diffused light.
9. And last but not least...continue to come back to Lifedigs for more valuable travel photo advice!


0 Comments